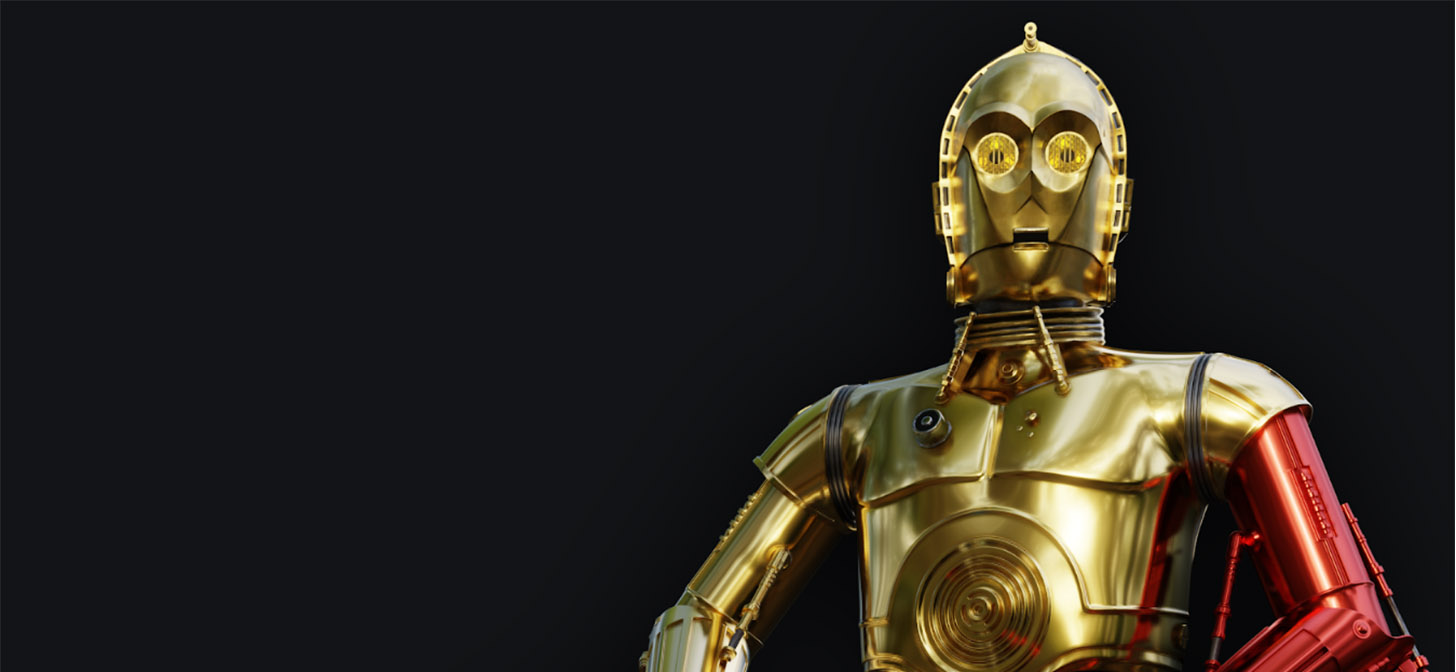
Behind the Scenes: R2D2 and C3PO 6
About
My name is Christian Egami, and I’m currently living in Osaka, Japan. In 2004, I started my studies with 3ds Max 6 in an Authorized School from Discreet (Actual Autodesk). In 2011, I had my first experience with Blender when I studied online with the talented teachers from 3DBuzz. I have been working as a 3D generalist for product design, TV, AR, and VR.
I made this model to focus on learning Blender better and to challenge myself.
Inspiration
I think the Star Wars universe is a source of inspiration for many generations and modeling the characters brings back memories from my childhood.
Tools
I used Blender for the C3PO modeling and render, Fusion360 for the R2D2 model, and Substance Painter for some textures.
References
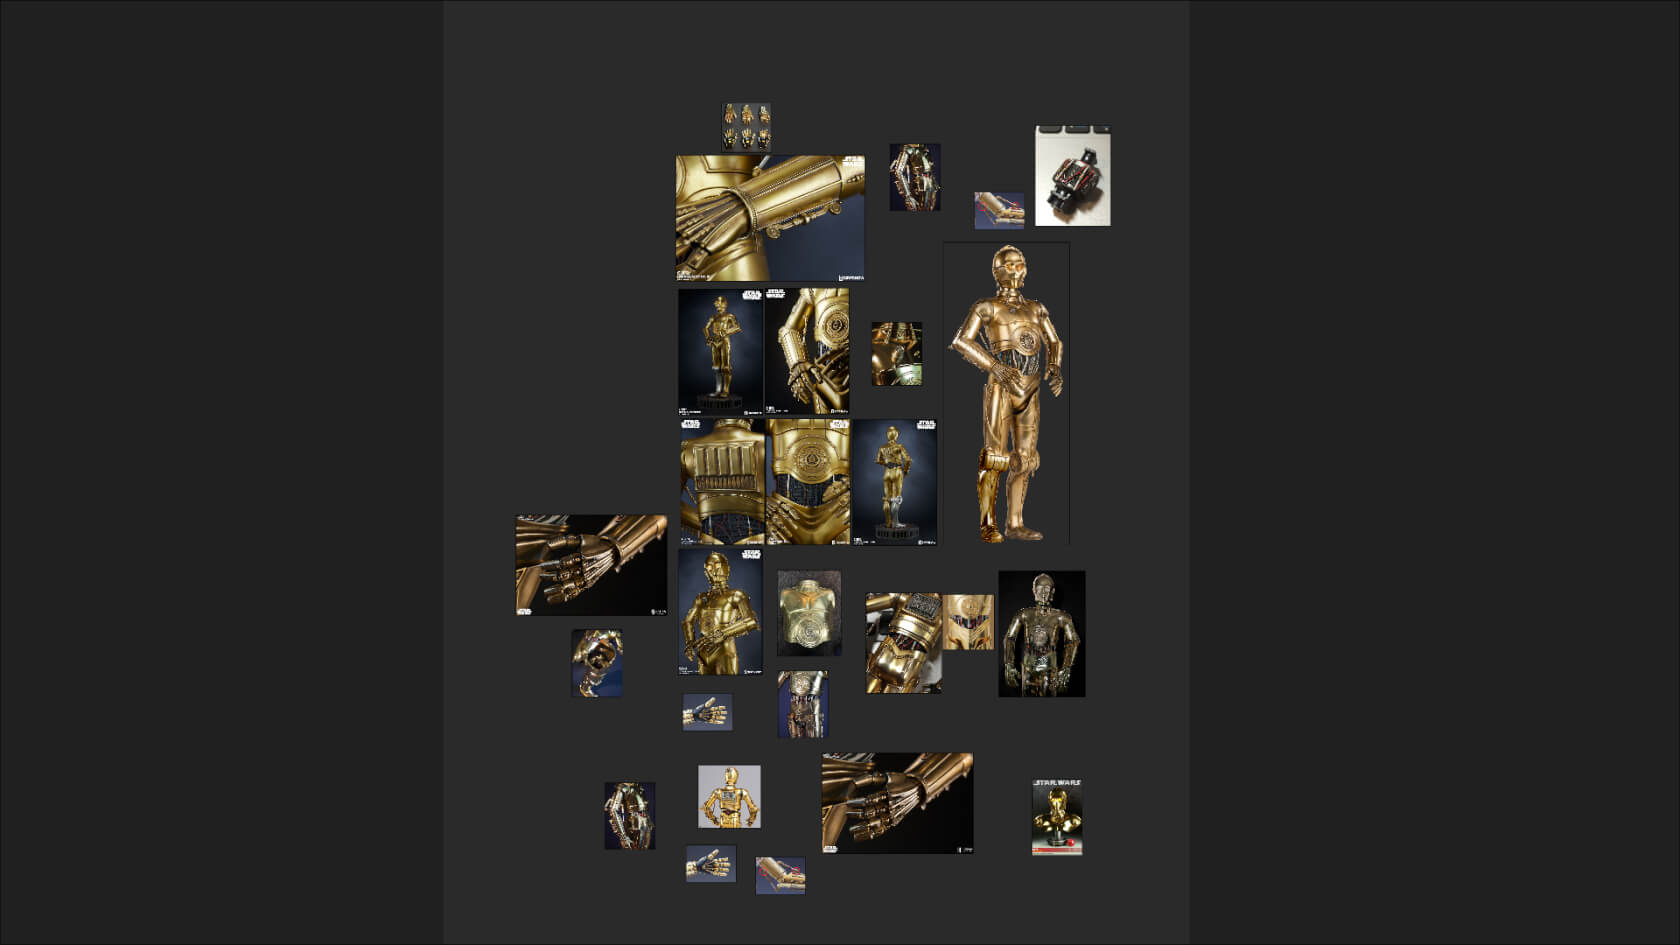
I searched many C3PO references on the internet; the design aspects of the model vary from time to time and I had to decide which one I would use for my modeling process.
Modeling
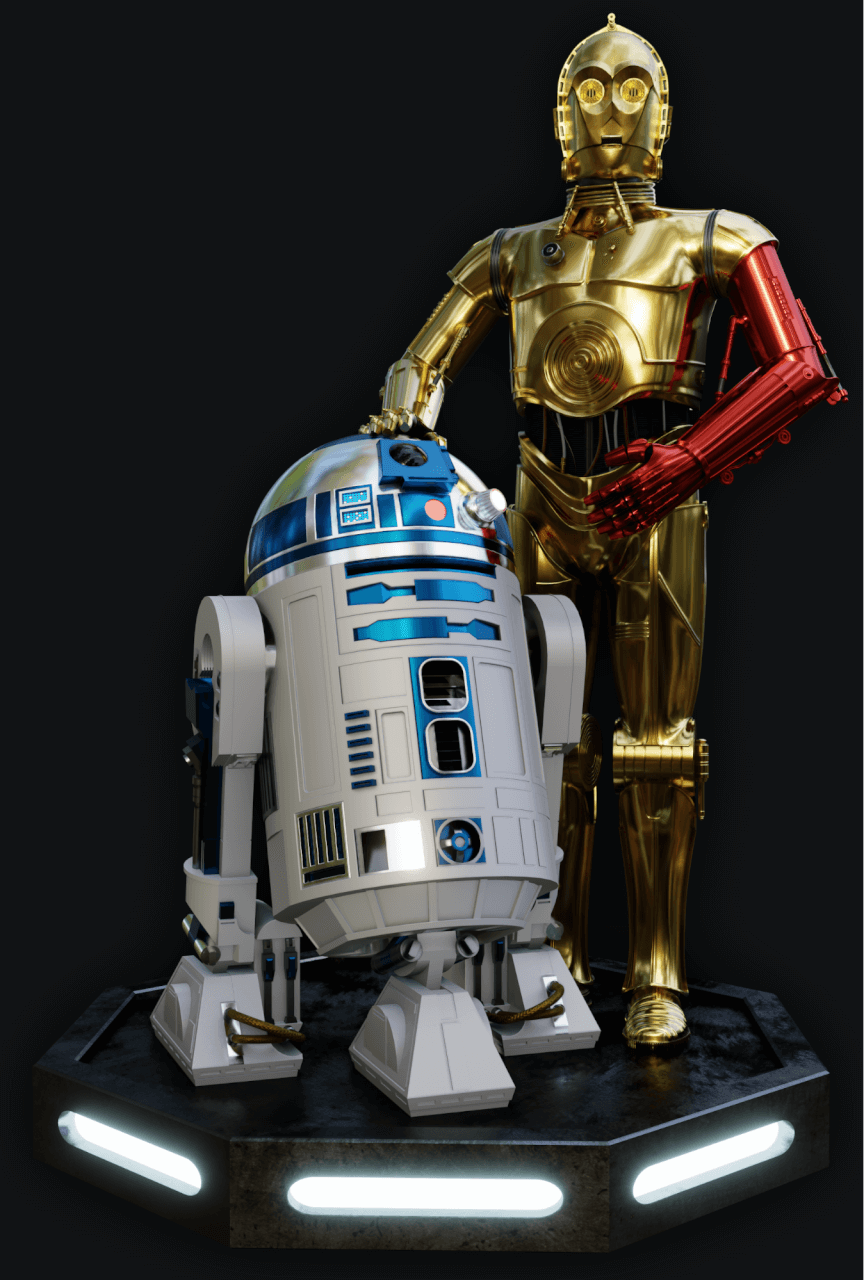
At the beginning, I was focusing more on modeling just C3PO’s bust, but I changed my mind and decided to make a final render together with the R2D2 model I created in Fusion360.
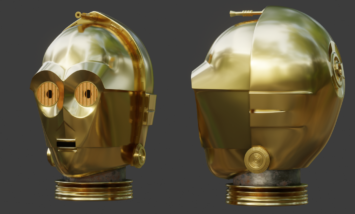
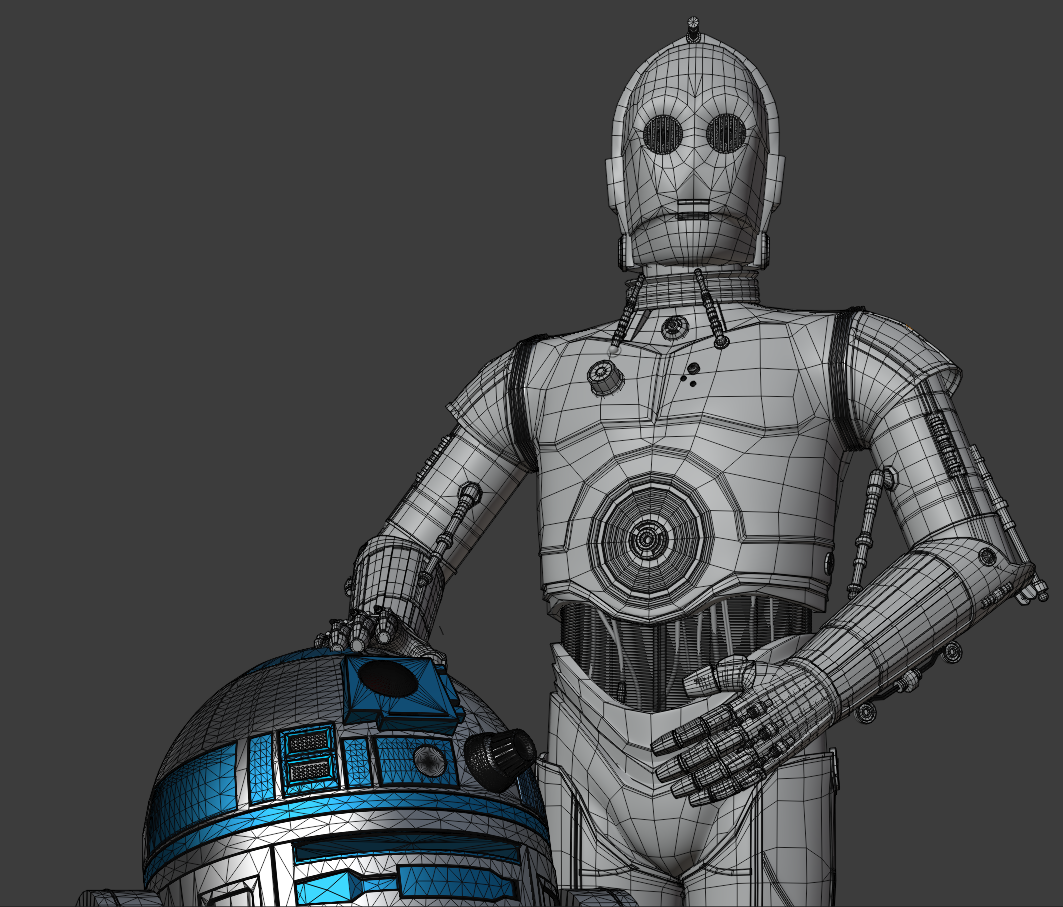
The C3PO model started with the head. I used a blueprint of the head and worked on orthographic views. Poly by poly was my best way to achieve the edge loops I wanted for the model and to create a solid structure for the high-poly mesh.
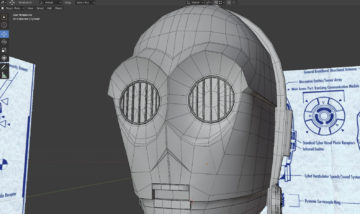
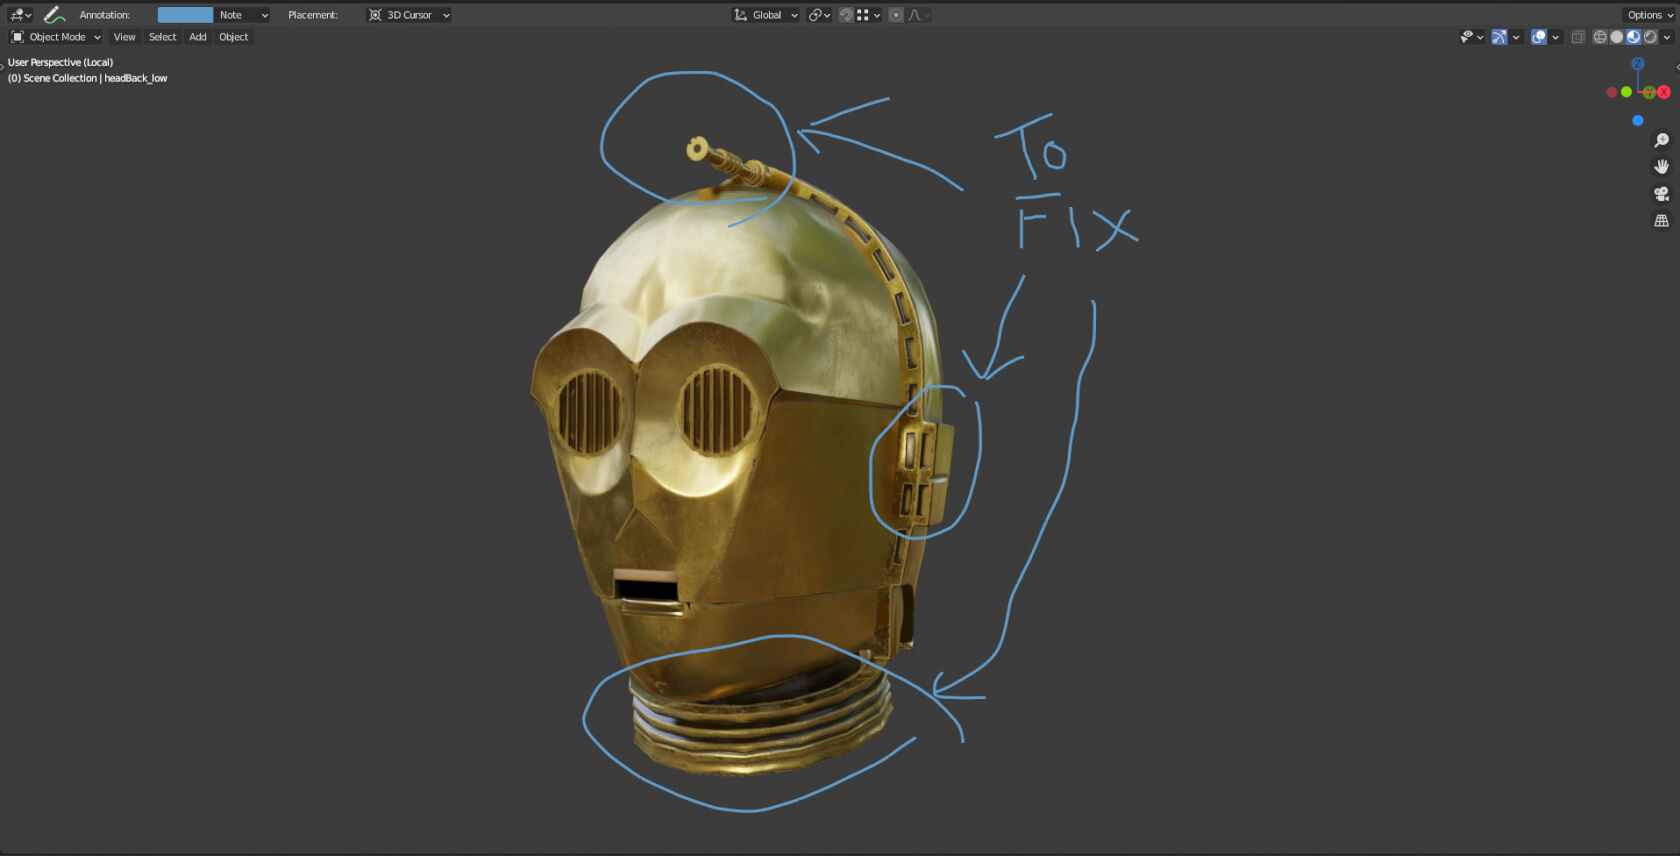
The “annotate” tool is a very useful tool because I can write on the places I have to fix and continue to work on them the next day after looking at my memos.
For the body, I had to make more artistic decisions about shapes.
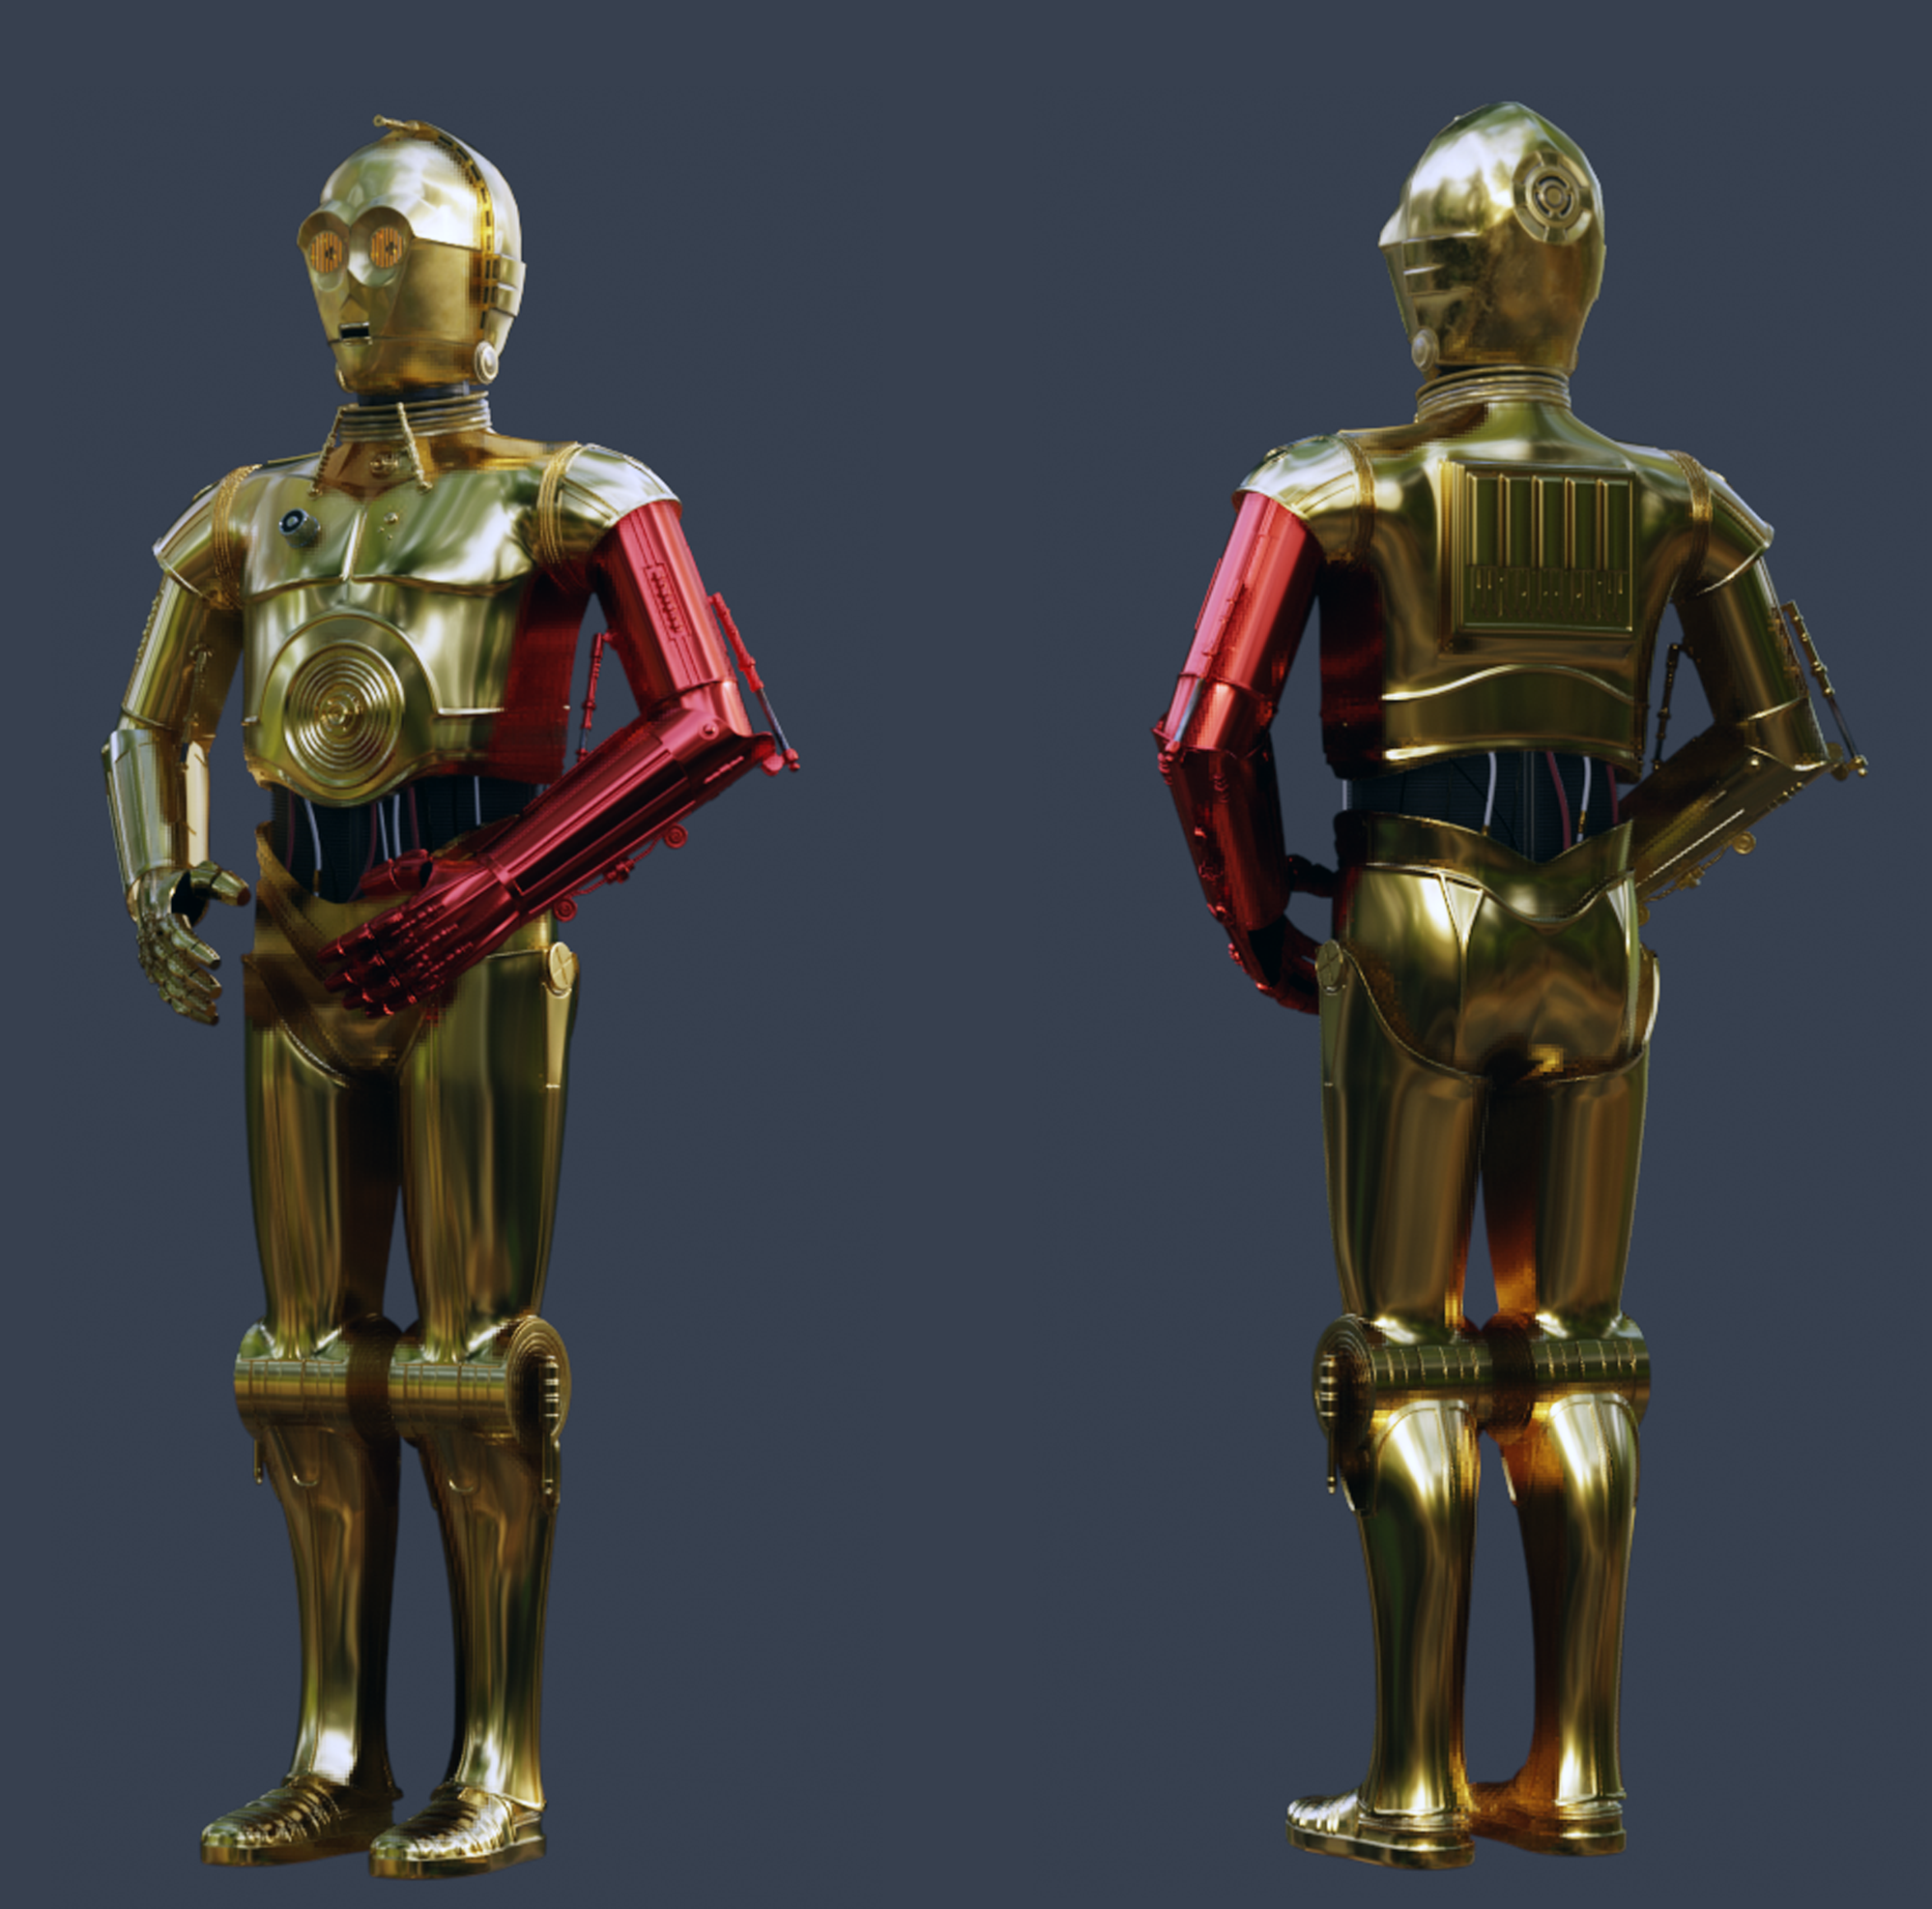
Because C3PO is composed of many parts, in order to just focus on one part at a time, I created a file for each part and assembled everything in one “ASSEMBLY” file. I love Blender CTRL + C and CTRL + V.
Texturing
For the texture, I used Substance Painter with the plugin Substance Live Link from Xolotl Studio.
Rendering
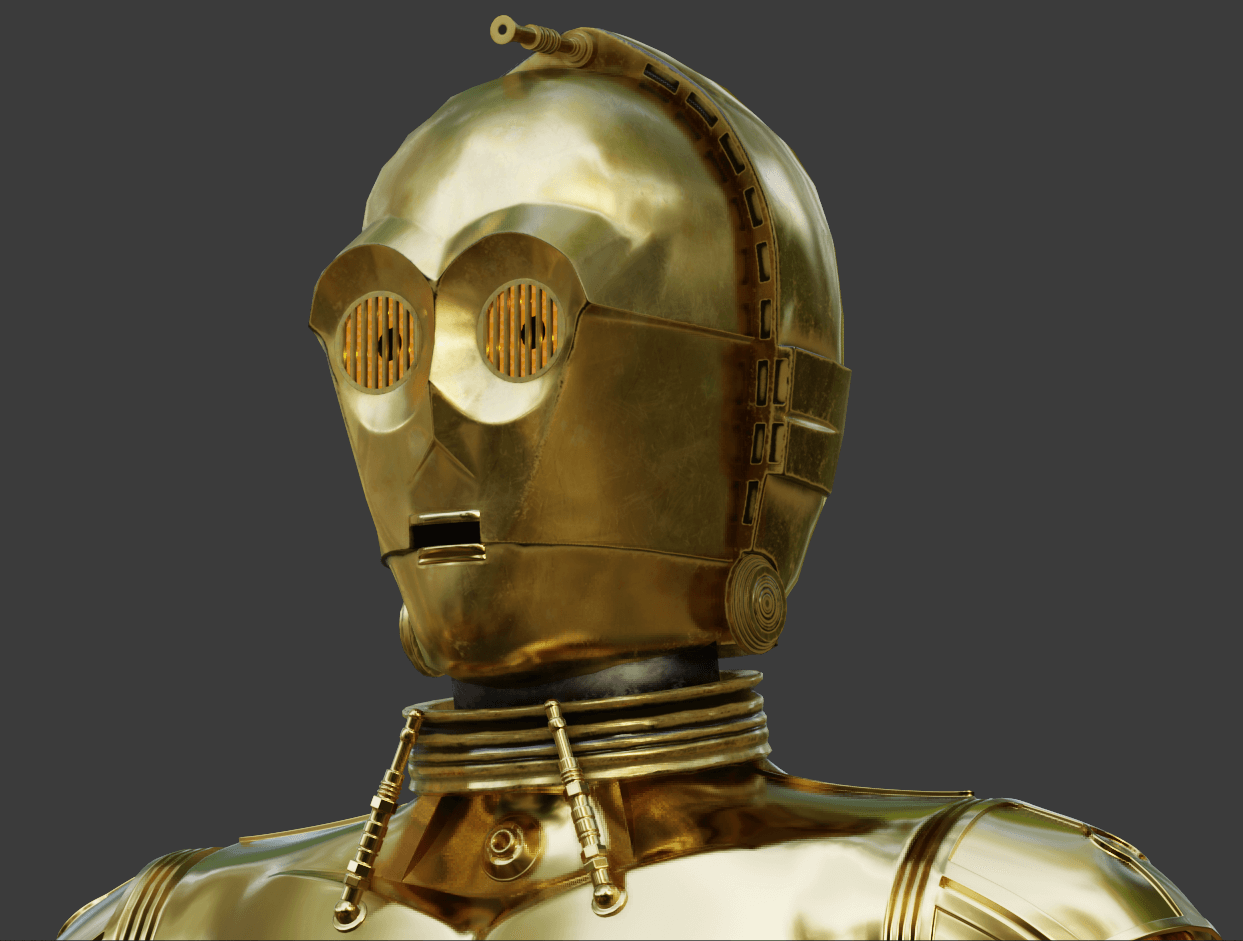
For the render, I used EEVEE. The HDRI is from Blender’s default library and to keep the consistency between Material Preview Mode and Render Preview Mode, I had to connect the HDRI from the folder “C:\Program Files\Blender Foundation\Blender 2.9x\2.9x\datafiles\studiolights\world” to the World Properties.
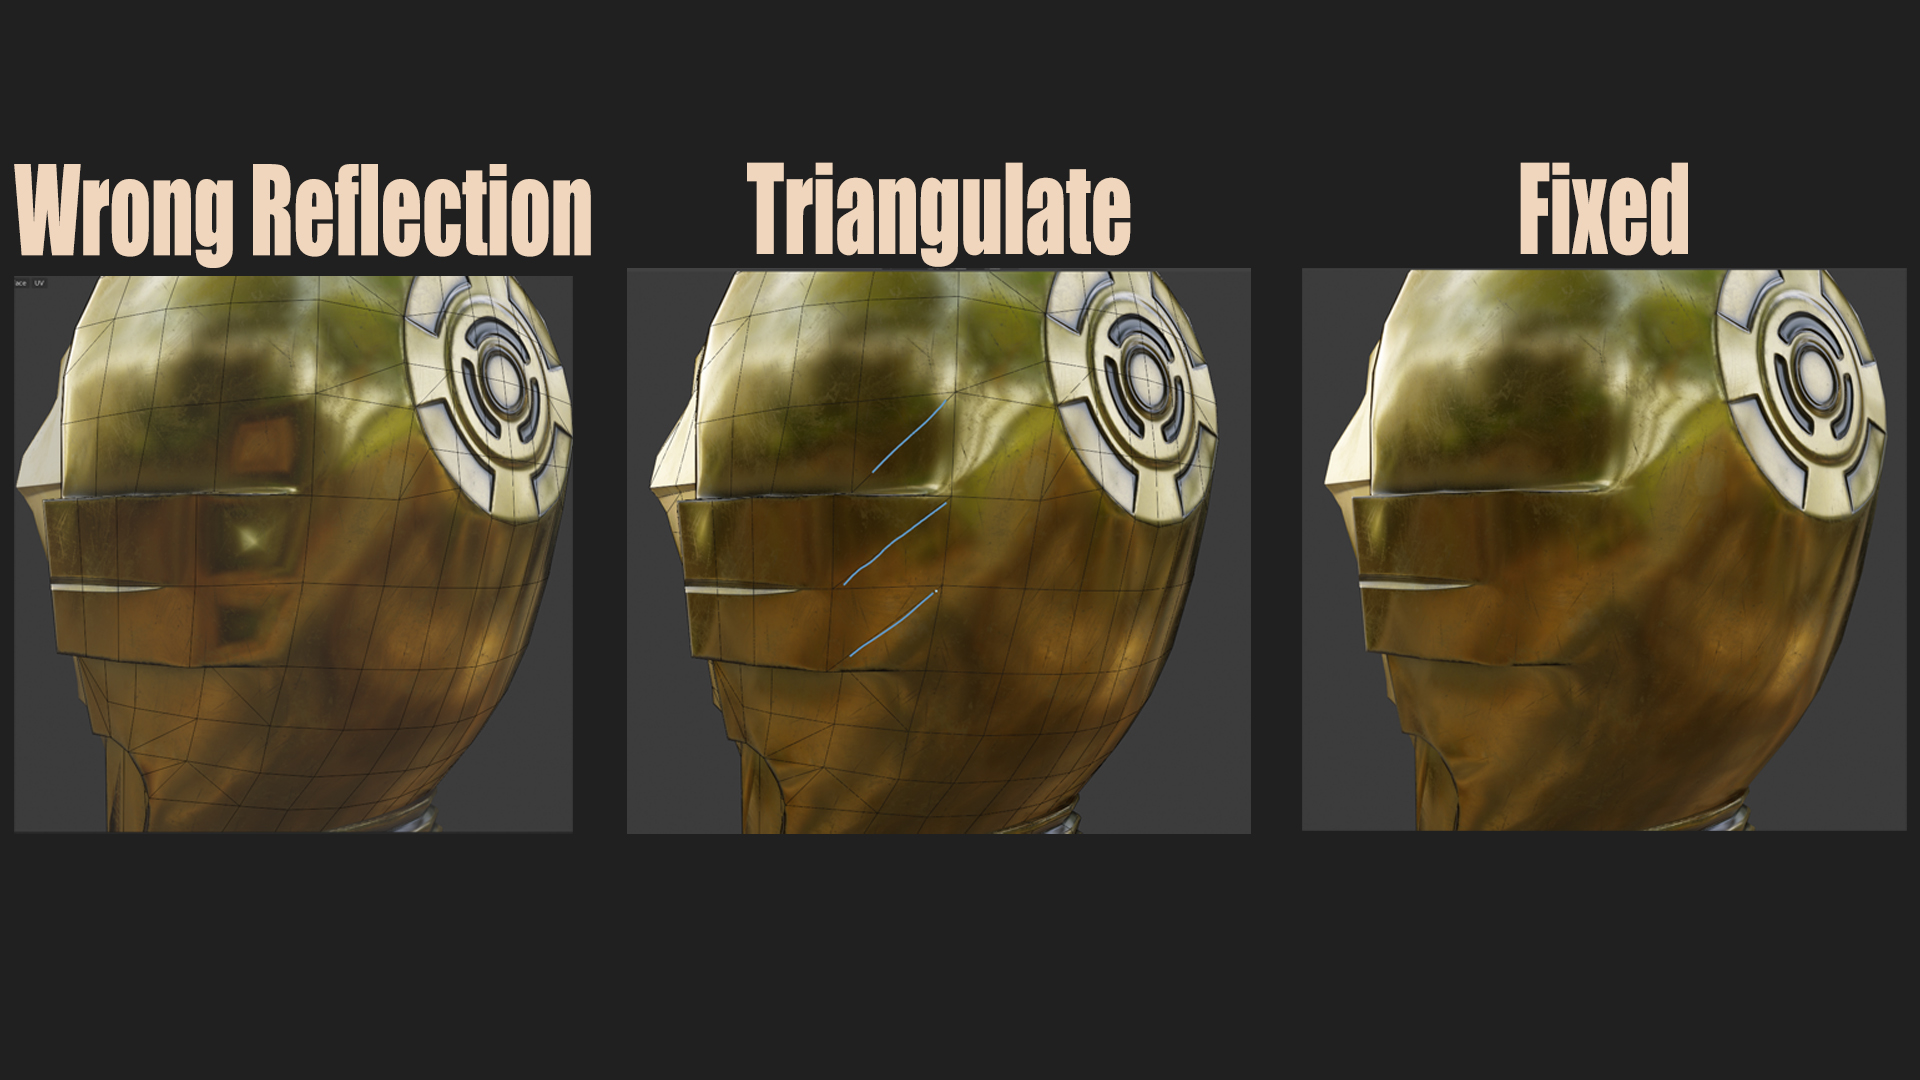
I had some issues with the reflection after connecting the baked texture on the model and to fix that I had to triangulate the polygon in order to guide the shader in the right direction.
For the eyes of C3PO, I created six small point lights, three on each eye.
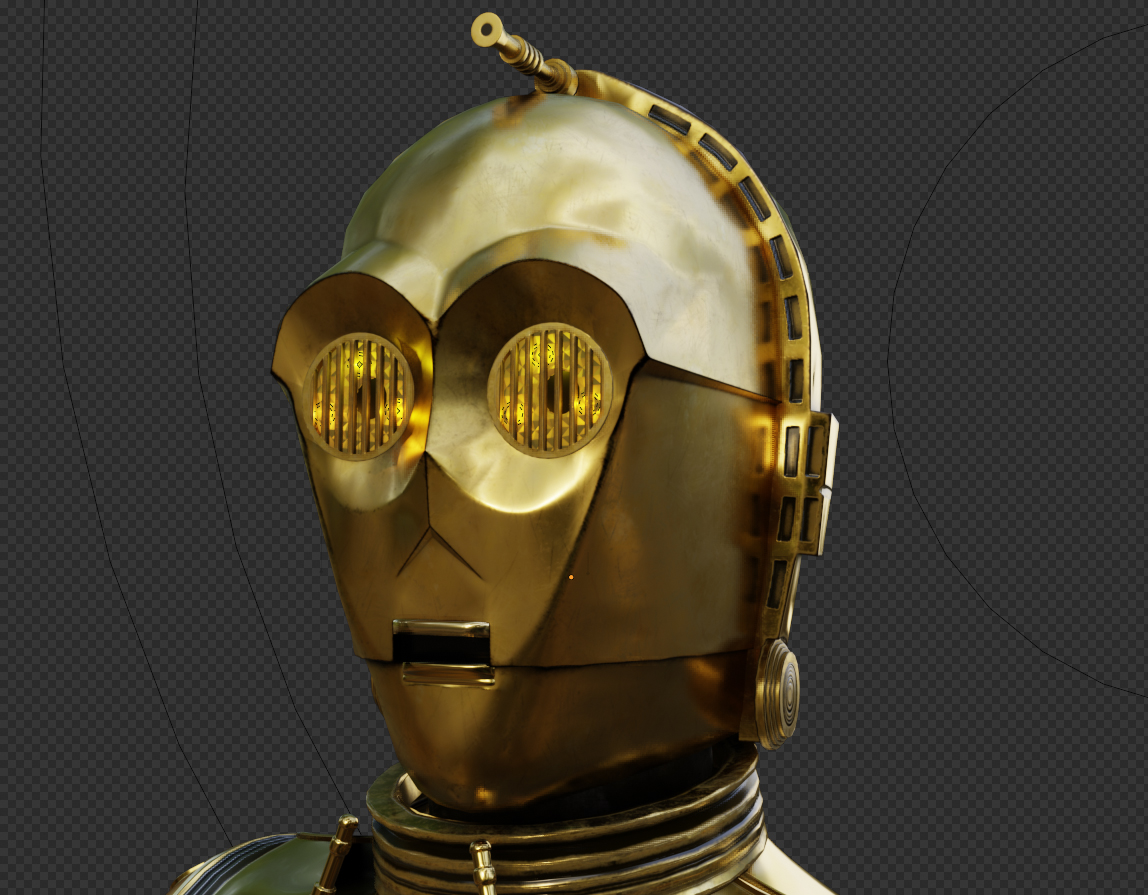
Final composition
And for the final image, I imported the R2D2 model from Fusion360 as FBX. I set up some basic lights (Sun and Area lights) and posed the characters.
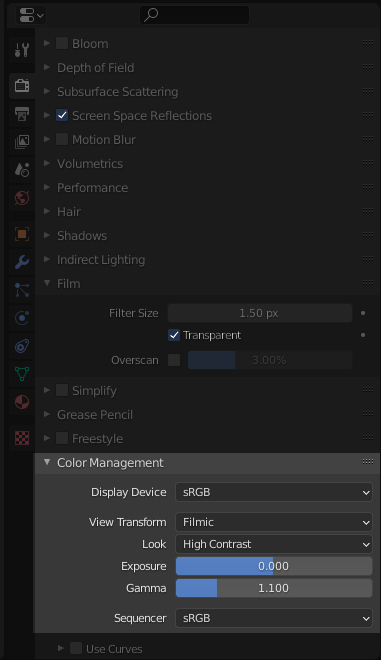
To achieve a better quality render, I played with the contrast option on Color Management (Render Properties > Color Management > Look):
That’s it! Hope you enjoyed this Behind the Scenes and thanks to BlenderNation and the Blender Community for this opportunity.
BY ABBY CRAWFORD

熱門頭條新聞
- MOONTON Games scores big at the 2024 GamingonPhone Awards
- GODDESS OF VICTORY: NIKKE ANNOUNCES 2025 ROADMAP
- LONDON GAMES FESTIVAL 2025 SCHEDULE UNVEILED
- Revenge of the Savage Planet locked in for May 2025
- The Ministry of Education encourages the inclusion of artificial intelligence education in local and school-based curricula.
- The OpenHarmony 5.0 Release version has been officially released.
- China’s Minidramas Make Big Splash
- DevGAMM Lisbon 2024 celebrates another successful edition with more than 750 attendees from around the world
